
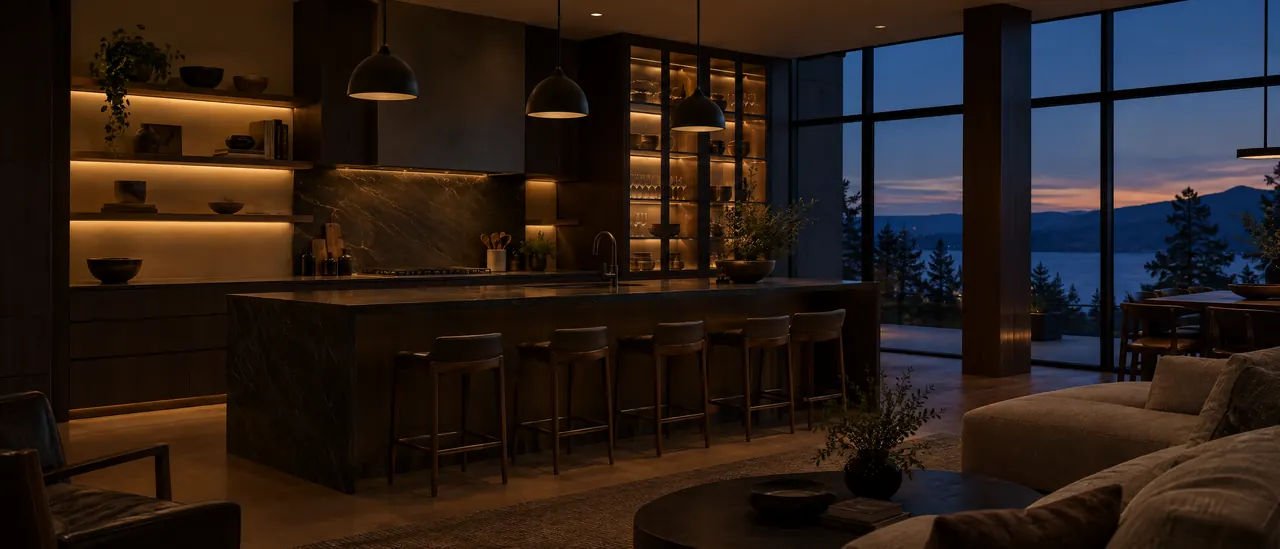
Hidden kitchen outlets only work when each one is placed before the cabinetry is drawn: in the island, under the wall cabinets, inside appliance garages, in a charging drawer and in the pantry. Below is a checklist for each location, followed by the switches and controls that belong with them.
Why October is the time to look
Shorter evenings pull everyone back indoors, and the counter fills up again. Phones charge beside the cutting board, a laptop settles at the island, and the kettle and toaster return to the backsplash. If you are planning a kitchen, this is a useful week to take inventory. Walk the room after dark and note every cable, every device and every appliance that sits on the counter because it has nowhere else to plug in. That list is the brief for your power plan.
One caution first. Electrical rules vary by jurisdiction and change as codes are revised and adopted. How many receptacles a counter needs, where they may go, what protection they require and whether a concealed device counts toward the requirement are questions for a licensed electrician and your city's building department. Treat what follows as design guidance, and confirm each decision with them.
A checklist for hidden kitchen outlets, by location
The island
- Decide what the island is for: prep, homework, laptops, a stand mixer. Each use points to a different outlet position.
- Put cabinet-face or end-panel outlets where hands reach them and knees do not. Under a seating overhang, keep them clear of where legs go.
- If you want a pop-up outlet in the counter, keep it well away from the sink and the main prep area, and choose a unit made for countertop use.
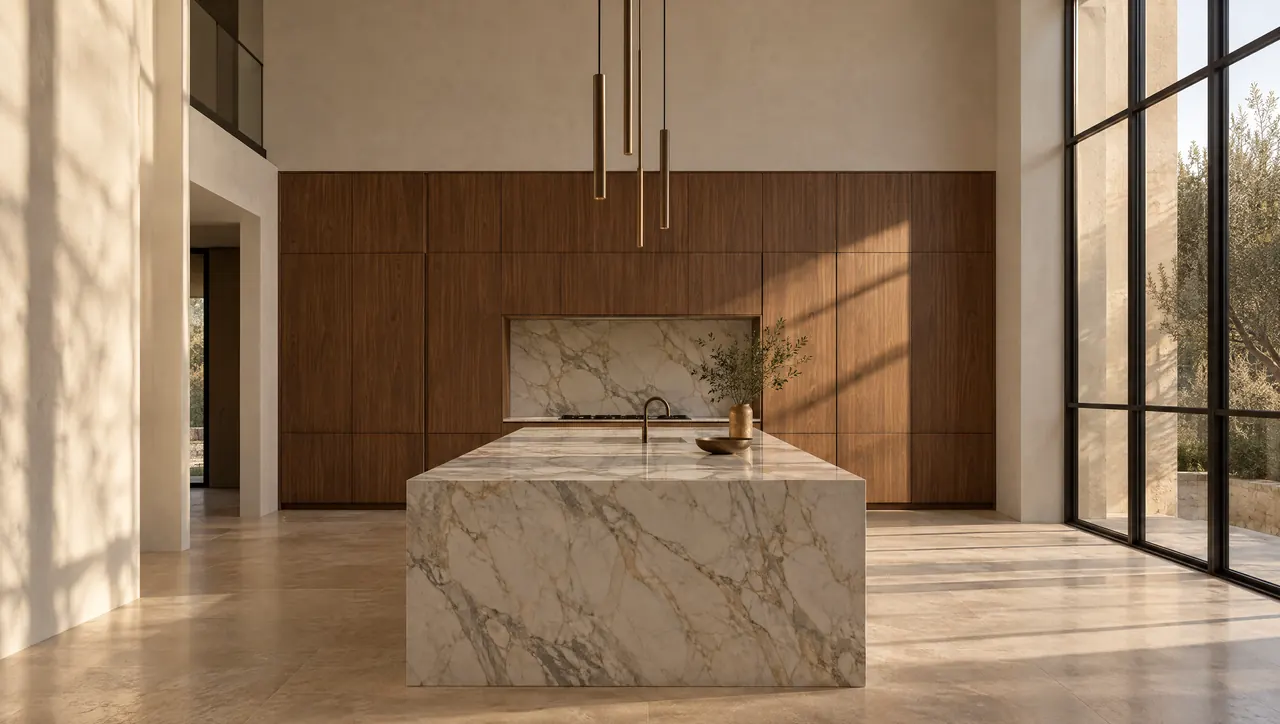
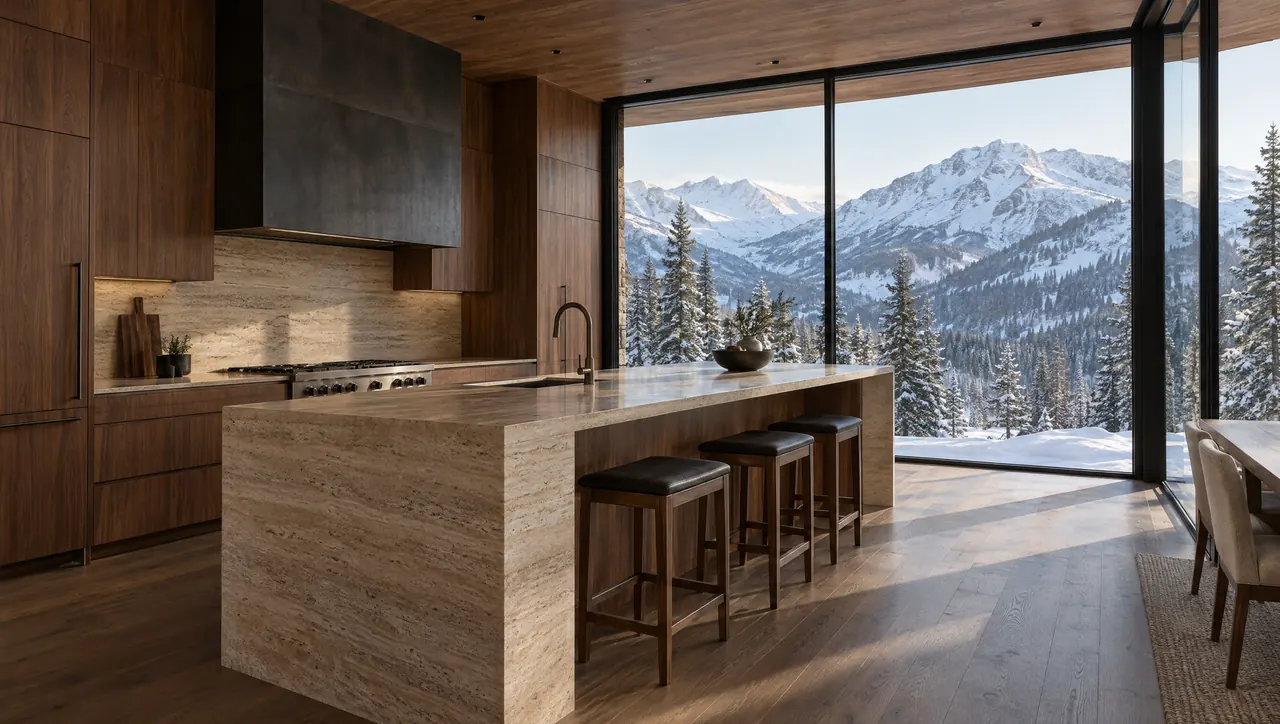
- A waterfall island has no exposed end panel to host an outlet. Plan power into the cabinet faces or a drawer instead.
- Agree the route for island power through the floor with your builder early. It is difficult to move once the flooring is down.
The backsplash
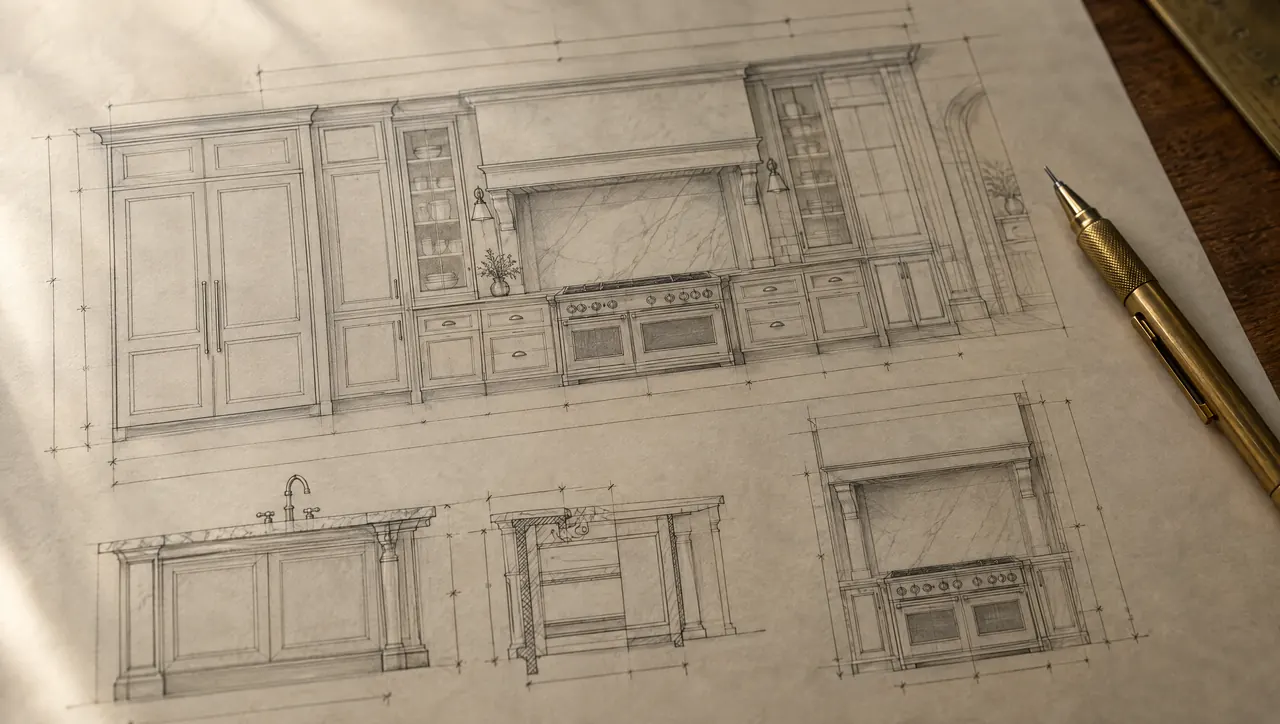
- A full-height stone backsplash looks best uninterrupted. Plug strips mounted to the underside of the wall cabinets, set back behind a light rail, keep the stone clear.
- Ask your electrician whether plug strips satisfy local requirements for counter receptacles before you commit to them.
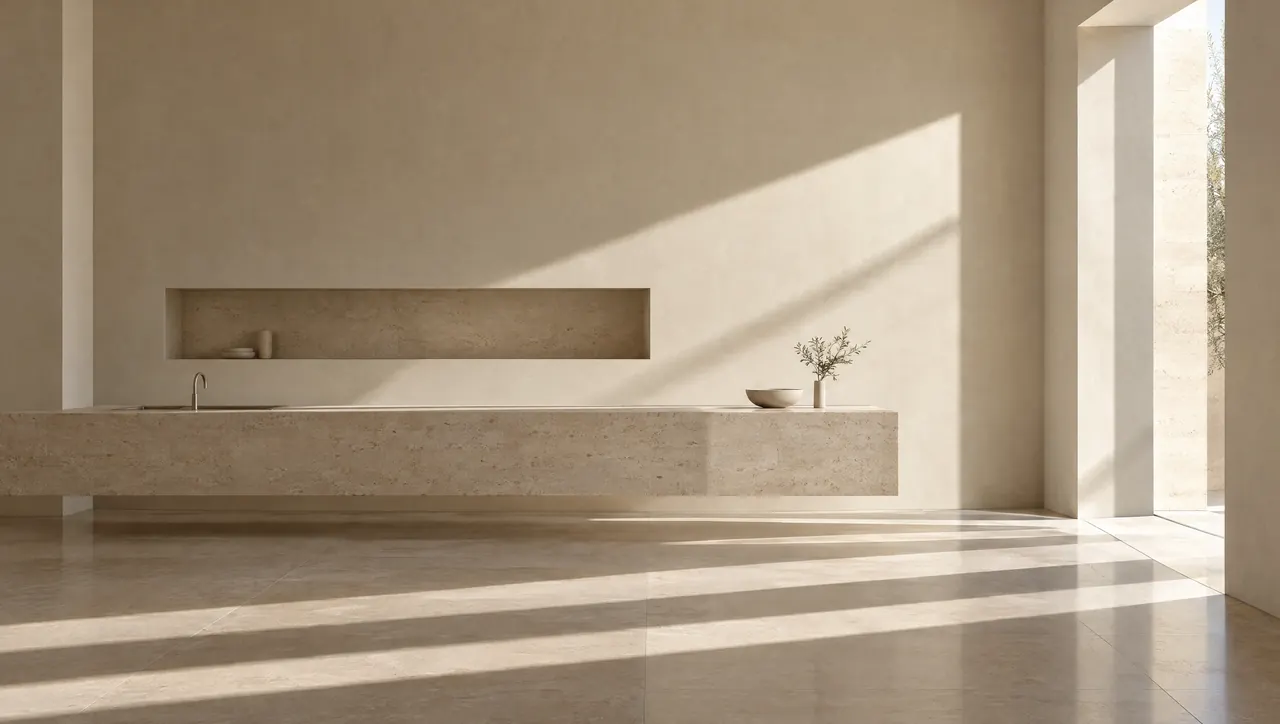
- With open shelving and no wall cabinets, strips have nowhere to hide. Outlets will go into the stone, so position them against the veining as carefully as you position the hood.
- Where outlets must sit in the backsplash, align them to a line already in the design, such as a shelf or the top of the faucet, and choose cover plates in a finish that recedes.
| Option | Suits | Watch for |
|---|---|---|
| Under-cabinet plug strip | Stone backsplashes below wall cabinets | Needs a light rail to hide it; confirm it meets local requirements |
| Countertop pop-up | Islands used for laptops and small appliances | Distance from the sink and prep zone; a cutout in the stone |
| Cabinet-face or end-panel outlet | Island ends and seating sides | Knee clearance; not possible on a waterfall end |
| In-drawer outlet | Charging phones, tablets and handheld tools | Use a device listed for drawers; ventilation |
| Appliance garage outlet | Coffee machines, toasters, blenders | Steam, heat and a door that stays open safely |
Inside cabinets
- An appliance garage with outlets at the back lets the coffee machine and toaster stay plugged in and out of sight.
- Choose doors that stay out of the way while an appliance runs, such as pocket or lift-up doors. A hinged door left half open is a hazard and an eyesore.
- Steam and heat need somewhere to go. Leave clearance above kettles and coffee machines, specify interior finishes that tolerate moisture, and follow each manufacturer's installation requirements.
- Consider an outlet on a switch with an indicator light, so the cabinet can be powered down at night.
- Built-in appliances often need dedicated circuits and specific outlet positions behind or beside the unit. Through appliance integration, appliances are selected and planned into the cabinetry during design development.
Drawers
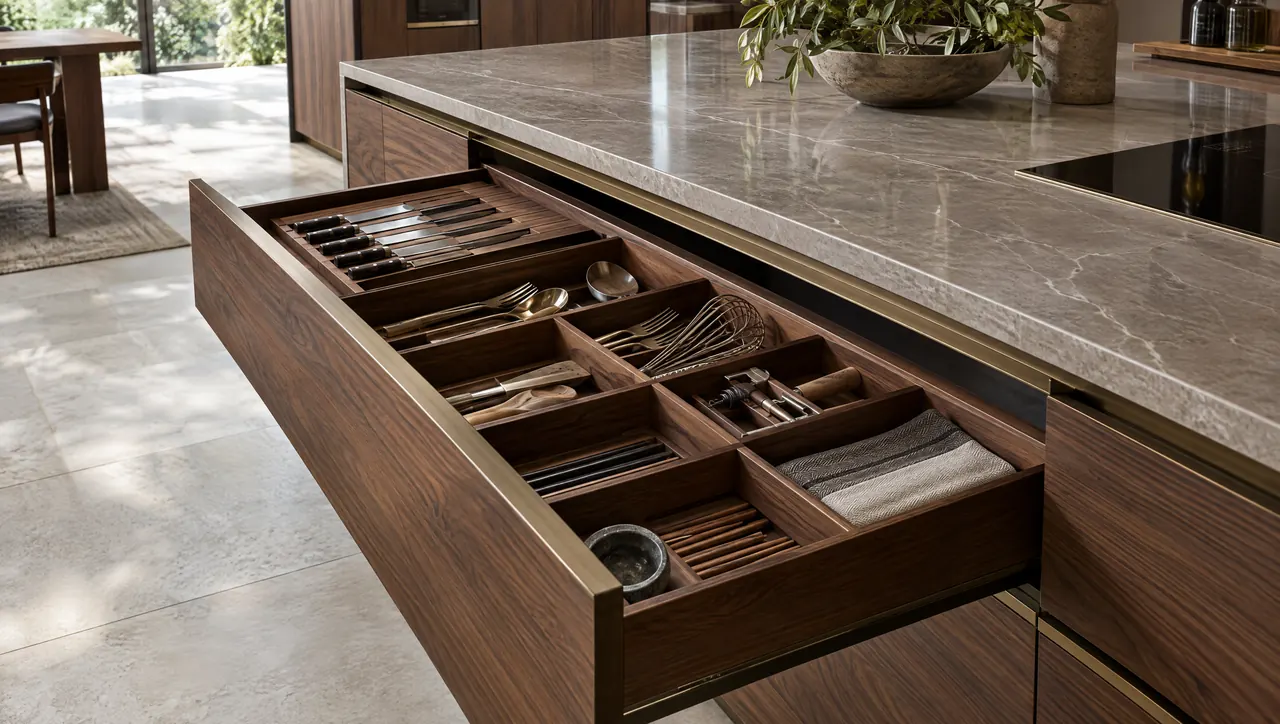
- A charging drawer clears phones, tablets and earbuds off the counter. Place it where people drop their things on the way in, away from the prep zone.
- Use an in-drawer outlet listed for that purpose. A standard receptacle fixed to the back of a drawer box is a different thing, and your electrician can tell you what is approved where you live.
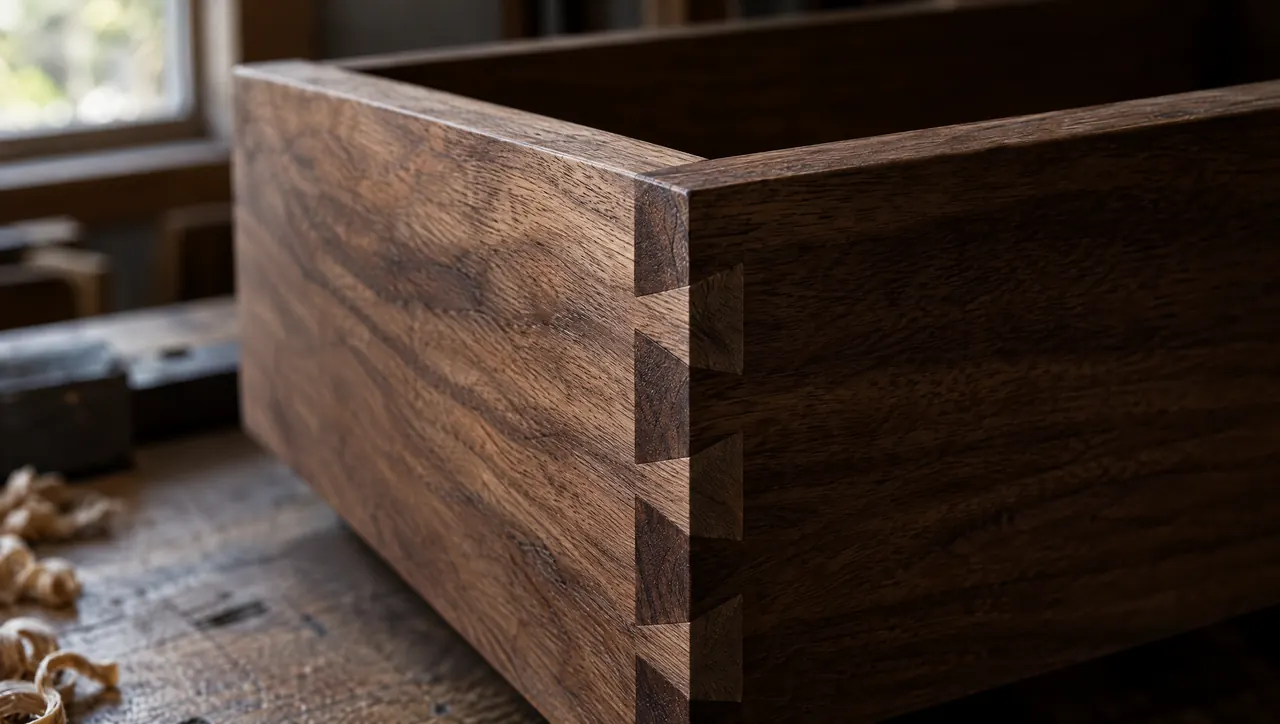
- Fit timber dividers sized to the devices you own, with channels for cables, so the drawer closes on a tidy row.
- Devices warm up as they charge. Ask about ventilation, and keep paper and cloth out of the drawer.
Dividers, cable channels and appliance garages are cabinetry details, resolved with the custom cabinetry and millwork so the power and the storage are drawn together.
The pantry
- A pantry with its own counter is the natural home for appliances you use daily but prefer not to see. Give that counter the same outlet planning as the main kitchen.
- Plan a position for a second refrigerator, beverage cooler or freezer, with the outlet where the manufacturer specifies.
- A tall cupboard with an outlet inside keeps a cordless vacuum charging out of view.
- A door-activated or motion light saves hunting for a switch with full hands.
For more on pantries and hidden storage, see concealed kitchen storage: pantries, drawers and panels.
Switches, keypads and appliance controls
Controls clutter a wall as quickly as outlets do. We recommend grouping switches and keypads at the points where people enter the kitchen, and keeping the backsplash free of them. A single scene keypad can replace a row of switches for task, accent and ambient light. Specify one finish for switch plates, keypads and outlet covers so they read as a family.
Under-cabinet lighting needs drivers, and drivers need access. Plan a removable panel in a cabinet or toe kick for them, and coordinate the light channels with the plug strips so the two do not compete for the same space. Our lighting integration layers lighting and its controls alongside the cabinetry details, and kitchen lighting design covers the layers in more depth.
If your counter fills with cables every evening, tell us how your household uses the kitchen and we can plan the power with the rest of the design. Start through our contact page or call 303-963-9688.