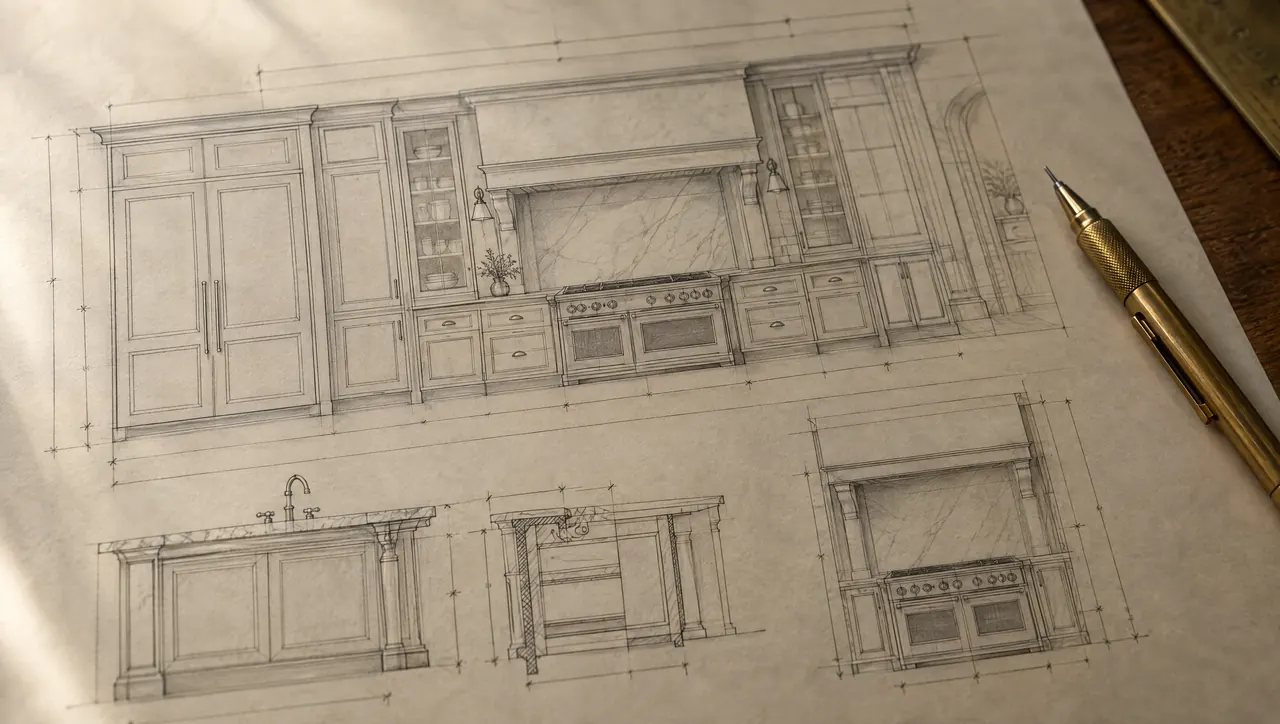

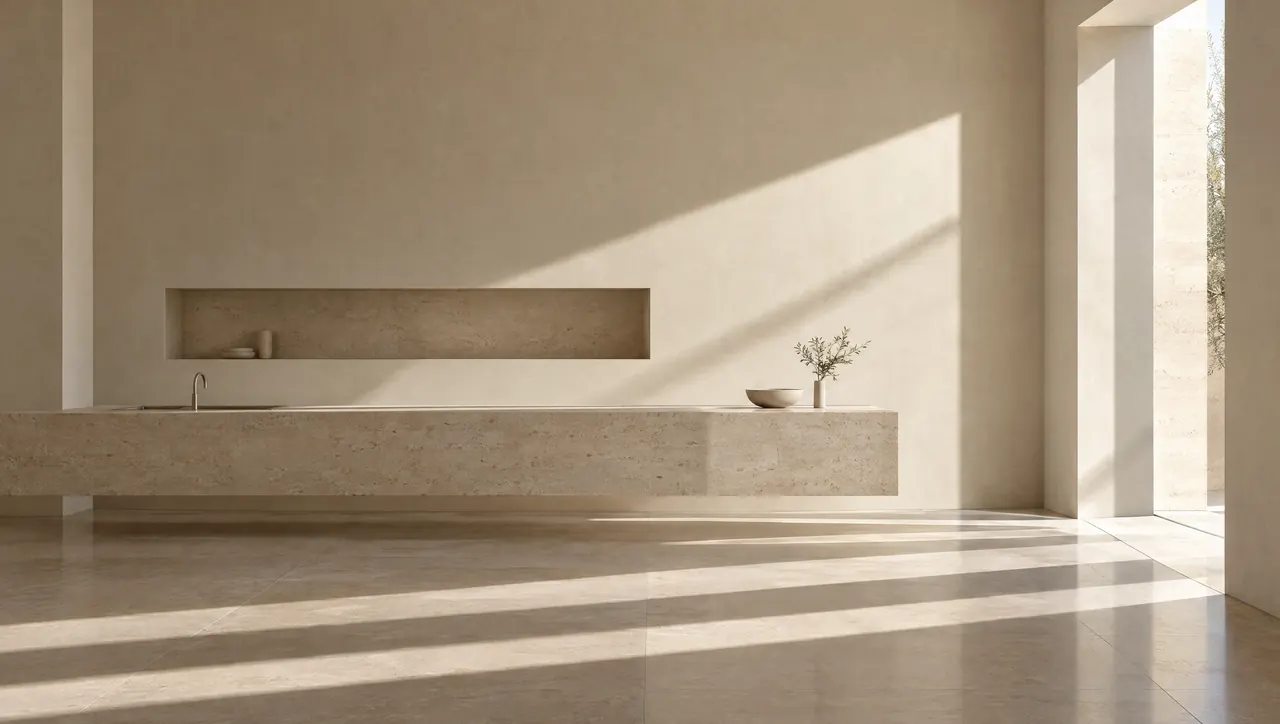

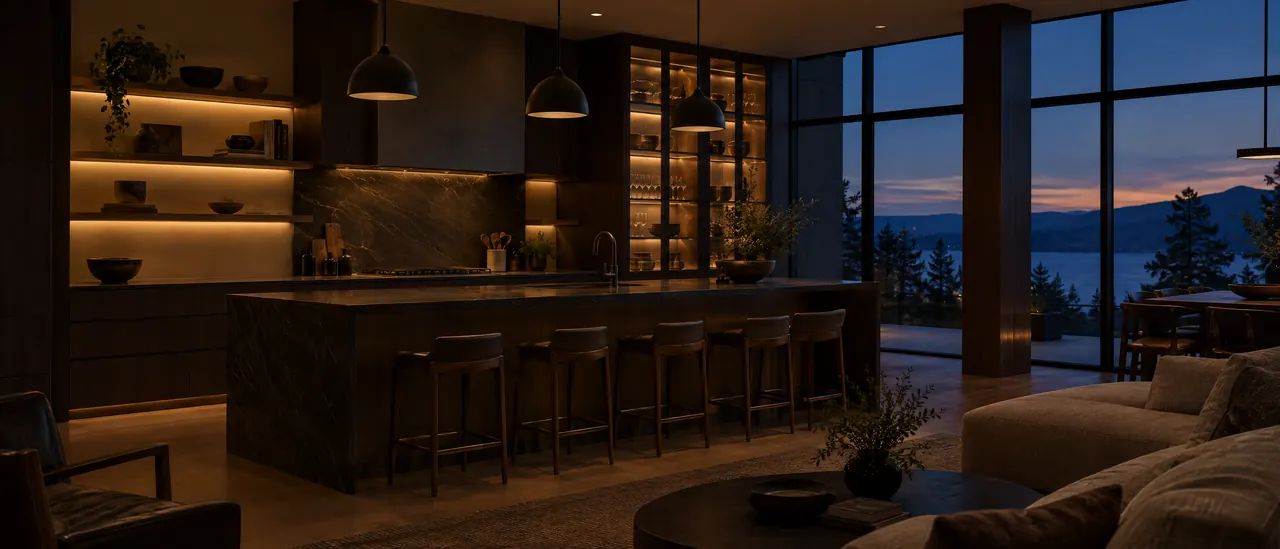
Lighting decides whether a kitchen looks the way it was drawn. A carefully chosen stone can read as flat and gray, a walnut veneer as dull, a white lacquer as clinical. Most of those outcomes are settled early, when the lighting plan and the cabinetry drawings are either coordinated or left to meet on site.
Build the light in layers
No single fixture can light a kitchen well. A ceiling grid of downlights produces even brightness and very little else: shadows fall across the counter wherever someone stands, and the room has no depth. Good kitchen lighting is built from several layers, each with a distinct job, each on its own control.
| Layer | Its job | Typical sources | Planning note |
|---|---|---|---|
| Ambient | General, comfortable brightness for moving through the room | Recessed downlights, cove light, indirect light bounced off the ceiling | Should be dimmable and never the only layer |
| Task | Clear, shadow-free light on work surfaces | Linear light beneath wall cabinets, downlights above the island and range | Positioned in front of the cook, never behind |
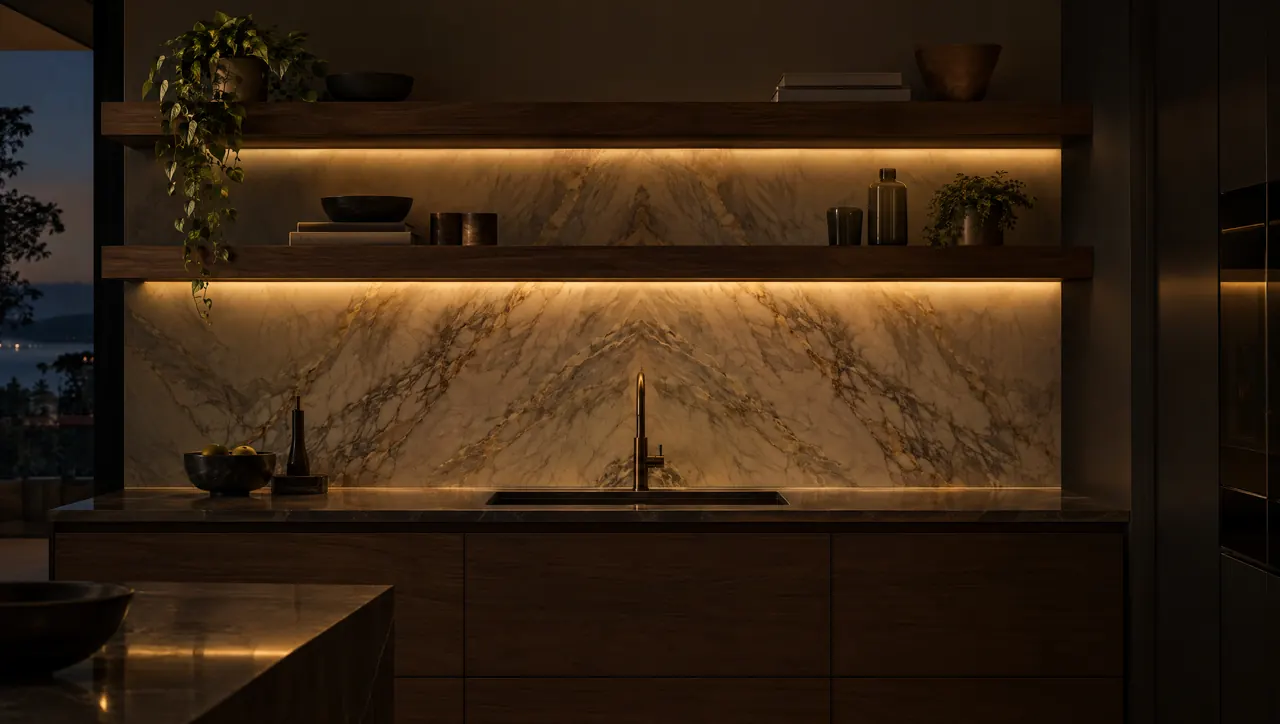
| Accent | Depth, texture and focus | Light inside glazed cabinets and on shelves, grazing light on stone, toe-kick light | Needs routes and recesses built into the millwork |
| Daylight | The baseline every finish is judged against | Windows, skylights, glazed doors | Finishes should be reviewed in daylight and under the evening scheme |
Treat color temperature and color rendering as specifications
Color temperature, measured in kelvin, describes how warm or cool white light appears. Lower values look warmer and more amber; higher values look cooler and bluer. Most residential kitchens sit at the warm end, commonly around 2700 to 3000 kelvin, which flatters timber, stone and skin. Whatever value is chosen, it should be consistent. A cool strip beneath the wall cabinets beside warm downlights is one of the most visible mistakes in a finished kitchen.
Color rendering index, or CRI, measures how faithfully a light source shows color compared with a reference source. It matters more in a kitchen than almost anywhere else in a house, because food, stone and timber are all judged by color. Many lighting designers specify a CRI of 90 or above for kitchens and also check the R9 value, which describes how well a source renders saturated reds. A poor source makes even fine materials look tired.
Conceal the source and show the effect
The most refined kitchen lighting is often the least visible. Linear LED set into a routed channel on the underside of a wall cabinet, behind a diffuser, lights the counter without revealing where the light comes from. Its position matters. Set toward the front edge of the cabinet, it lights the work surface and the backsplash evenly. Set too far back, it lights only the wall and leaves the front of the counter in shadow.
Diffusion matters too. Without enough depth between the LED and the diffuser, a strip reads as a row of bright dots, and on a polished counter those dots reflect straight back at the person cooking. Cove light above tall cabinetry, light inside glazed units and a low line at the toe kick add depth in the evening, when the task lighting can be turned off entirely.
Control glare before it happens
Glare is the difference between a kitchen that feels calm and one that feels like a showroom. Downlights with the source set deep inside the housing, and with a beam angle chosen for the height of the ceiling, put light on the counter without throwing it into the eyes of someone seated at the island. Placement does as much work as the fixture. A downlight positioned over the front edge of the counter lights the work; one positioned behind the cook throws their shadow across it.
Pendants over an island deserve the same discipline. They should be hung with the sightline across the island in mind, so people can see each other when seated, and shaded so the bare source is not visible from the adjacent living space.
Use controls to compose scenes
Layers only pay off if they can be controlled independently. A small number of well-named scenes is more useful than a wall of switches. A cooking scene brings task light to full. A dining scene lowers the ambient light and keeps the accent light on. A late evening scene leaves only the toe kick and the glazed cabinets glowing. In an open plan, the kitchen should be able to dim down without affecting the living area beside it.
Dimming compatibility is a technical detail with visible consequences. LED drivers and dimmers have to be matched, or the light may flicker, hum or drop out at low levels. That matching belongs in the specification, not on site.
If / then
- If the kitchen opens onto a living space
- Put the kitchen on its own circuits and scenes so it can recede in the evening.
- If the counters are polished
- Set linear light toward the front of the cabinet, use deep diffusers, and test for reflections on a sample.
- If the backsplash is a textured or leathered stone
- Consider grazing light, and confirm the slab is flat before committing to it.
- If the room receives strong daylight
- Approve finishes both in daylight and under the evening scheme, never one alone.
Coordinate lighting with the millwork from the start
Concealed light lives inside the cabinetry. Channels have to be routed before finishing, cable routes need to pass through carcasses and around drawers, and drivers need a ventilated, accessible home where they can be serviced without dismantling a run of units. None of this can be added neatly once the cabinets are built. That is why lighting integration sits within the same set of drawings as the custom cabinetry, and why it belongs early in the design process.
The bottom line
A well-lit kitchen uses layered light with consistent color temperature and high color rendering, concealed sources positioned to light the work, glare controlled by placement and optics, and scenes that let the room change through the day. Most of that is decided in the drawings, before the first cabinet is made.
If your lighting has not yet been drawn alongside the cabinetry, now is the moment to bring the two together. We would be glad to talk it through. Arrange a conversation about your project.